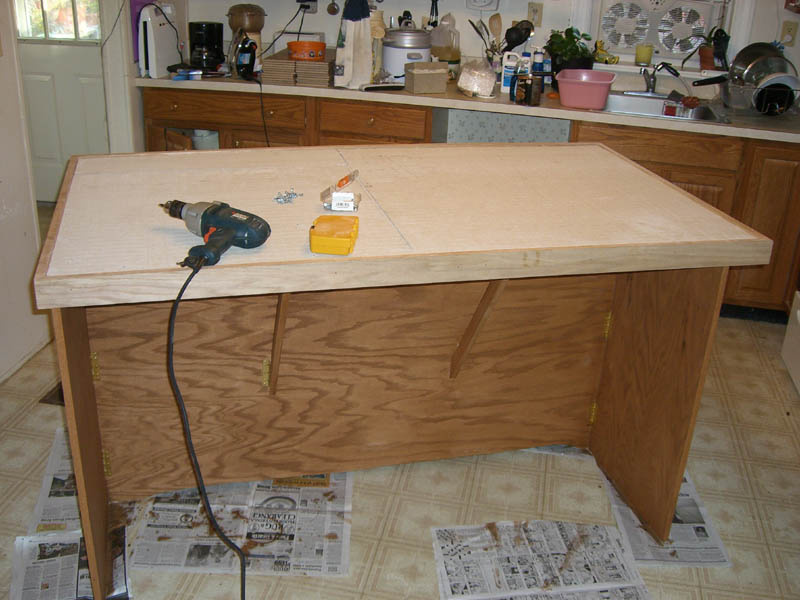
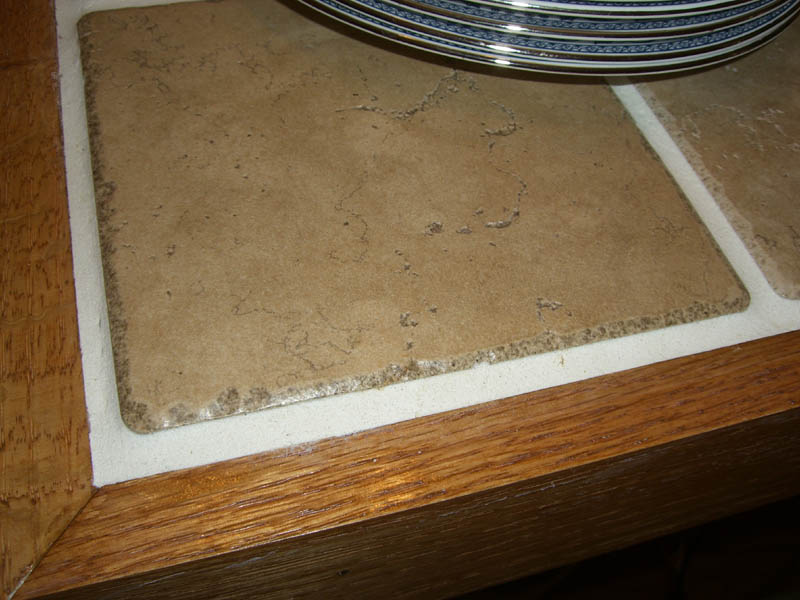
We moved the countertop down to Louis in my truck. I built the support base for the island, with sitting space on one side and shelves on the other. then I cut cement backer-board to size and attached it on top of the plywood. (You need to put cement backer-board under tile, in general - it's a much better idea, lasts a lot longer):
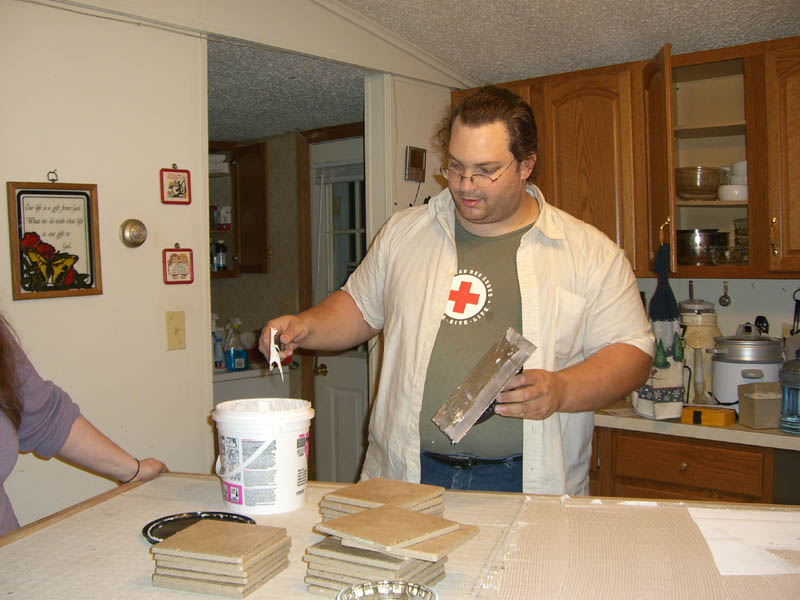
Then Maureen and I figured out an efficient way to spread the tile cement, place the spacers so the lines come out nice and even, and drop the tiles into place in quick succession:
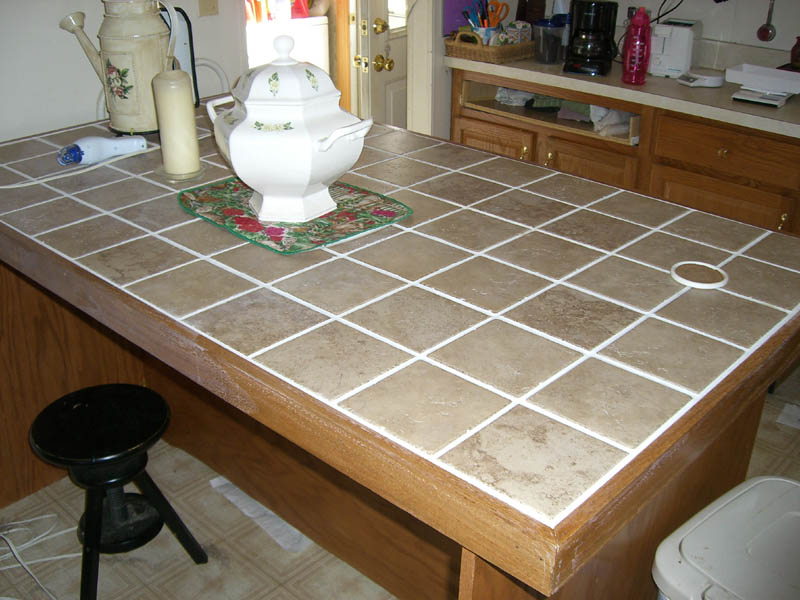
You may have noticed that the base is darker than the top. My mother-in-law is detail oriented on many things, so she painted with stain and a finish, makeing the wood look *excellent*. this item was assembled over a period of two weeks, so it shouldn't mess with you too much that having the base color itself in without other parts there!.
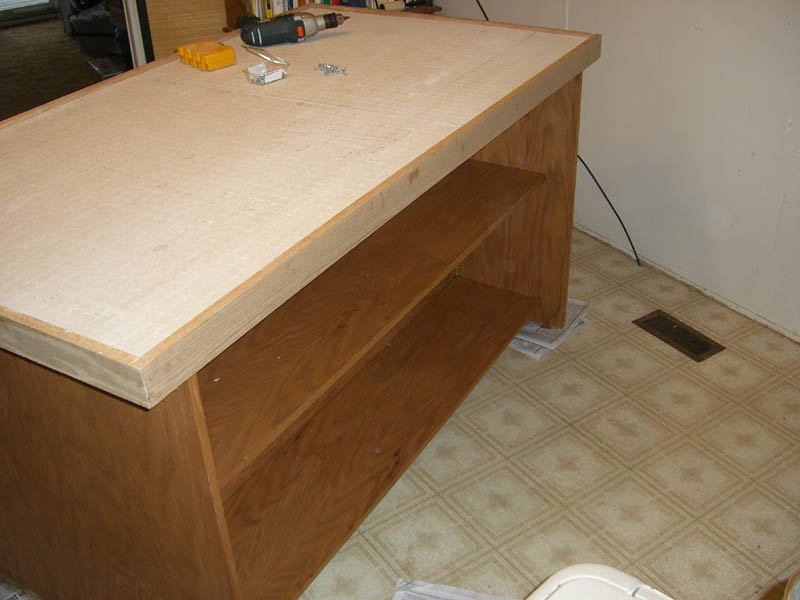
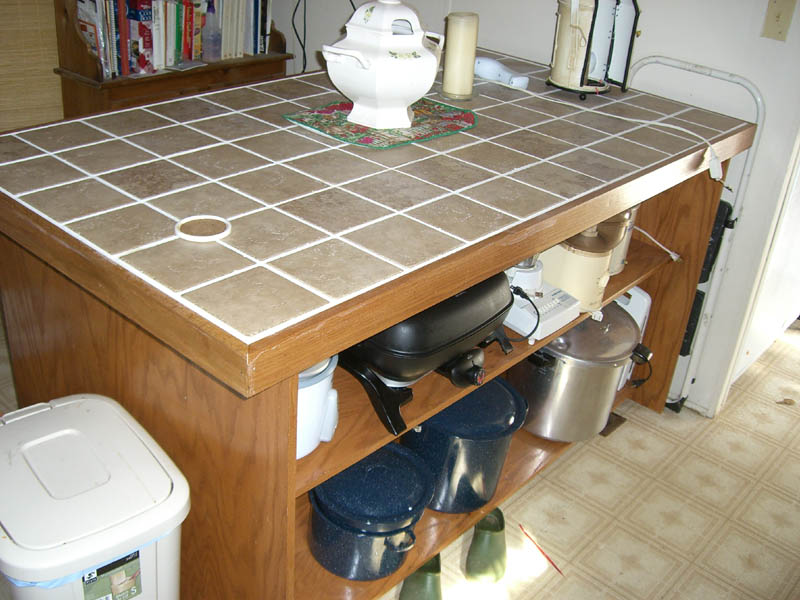
Here are the shelvs on the back-side of the kitchen island...
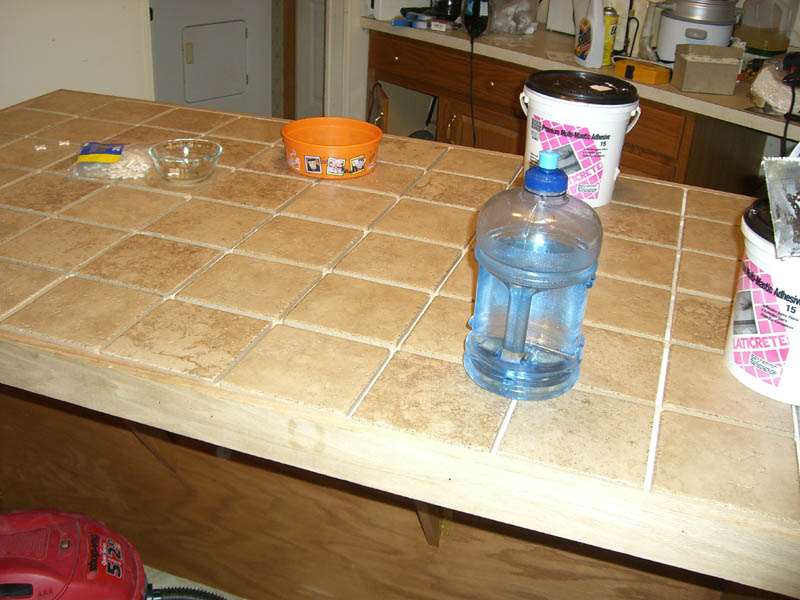
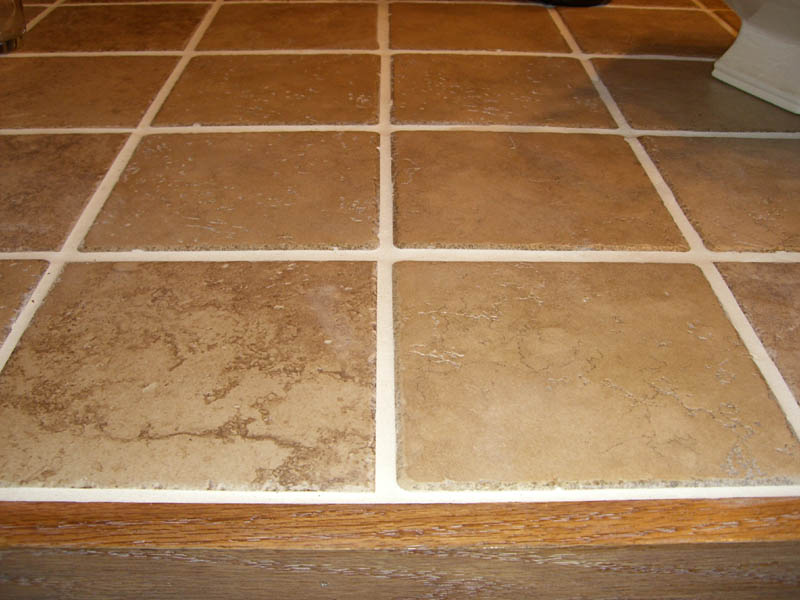
After we left, Eileen finished and stained the oak rail on the edge of the table, and grouted everything! It looks fantastic:
And for a lovely finished product...
planning on putting more here whenever I build more there...